Want gorgeous red acrylics for Valentine's Day? This guide shows you how to achieve the perfect look while prioritizing the health of your natural nails. We'll cover everything from selecting the perfect shade and design to the crucial—and often tricky—process of safe removal. We'll explore both at-home removal (with significant caveats!) and the advantages of professional removal. Finally, we'll provide essential post-removal care tips to keep your nails strong and beautiful. Let's make this Valentine's Day manicure a win-win!
Achieving the Perfect Red Valentine's Day Look
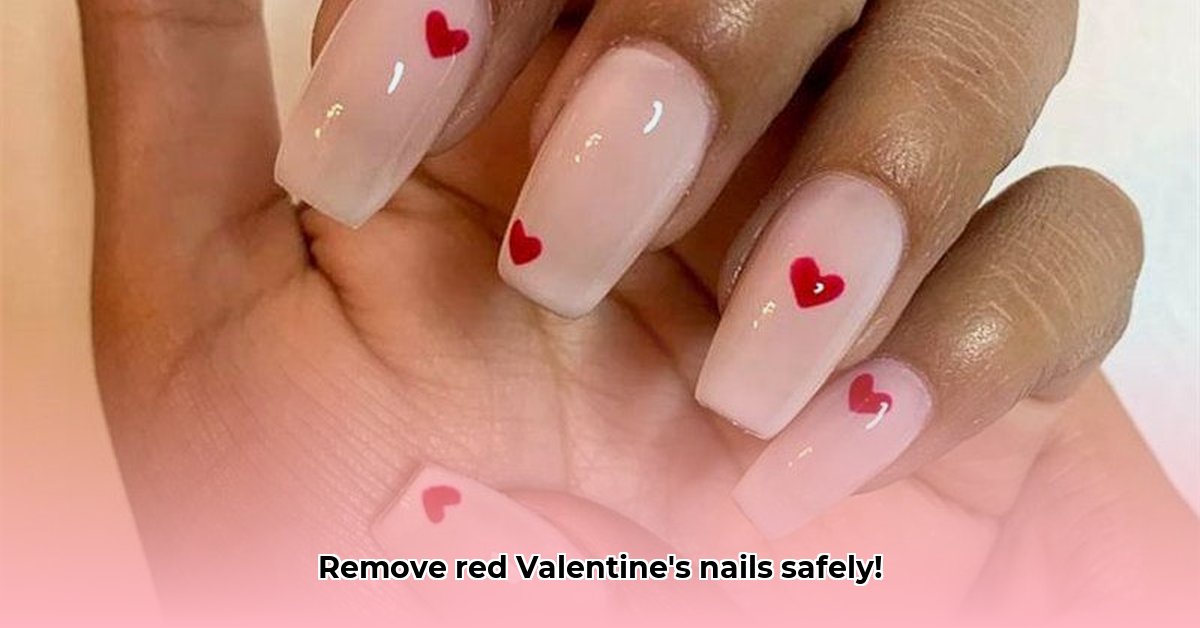
Let's start with the fun part: choosing your perfect red! From classic crimson to fiery scarlet, the options are endless. Consider adding subtle Valentine's Day touches like tiny hearts, glitter, or a matte finish. Before your appointment, browse online for inspiration – Pinterest is a great resource. This pre-planning will help you communicate your vision effectively with your nail technician. A skilled technician can advise on shades that complement your skin tone and designs that flatter your nail shape. Remember, clear communication is key! Did you know that choosing the right red can dramatically enhance your overall look?
Professional Application: The Safest Choice
While DIY kits exist, professional application is strongly recommended. Experienced technicians follow strict hygiene protocols, minimizing infection risks. They use high-quality products and possess the skill to prepare your nails perfectly, ensuring a long-lasting and beautiful manicure. Is it worth the investment? Absolutely, for the sake of your nail health. Professional application often inspires unique design ideas you might not have considered!
Safe Acrylic Removal at Home (With Serious Caveats!)
Removing acrylics at home is possible, but carries substantial risks. Improper techniques can lead to damaged, brittle, or even peeling nails. If your nails are already weak or brittle, professional removal is essential.
What You'll Need:
- 100% Acetone (crucial – no substitutes!): This dissolves the acrylic.
- Cotton balls or pads: To hold the acetone.
- Aluminum foil: To keep the acetone-soaked cotton in place.
- Low-grit nail file (100-150 grit): A coarser file can damage your nails.
- Cuticle oil: To moisturize and hydrate your nails after removal.
- Nail strengthener: To repair and protect your nails.
Step-by-Step Removal (DIY – Proceed with Extreme Caution!):
- Preparation: Gently file the top surface of your acrylic nails with the low-grit file, creating tiny imperfections to aid acetone penetration. Avoid aggressive filing.
- Soaking and Wrapping: Soak cotton pads in 100% acetone, place one on each nail, and wrap tightly with foil. Leave for 20-30 minutes. The acrylic should soften noticeably.
- Gentle Removal: Carefully peel off the softened acrylic. Don't force it; re-soak if necessary.
- Careful Filing (if needed): If tiny bits remain, very gently file them away. It's better to leave a tiny bit than risk damaging your nail bed.
- Post-Removal Pampering: Apply cuticle oil and a nail strengthener generously.
Professional Acrylic Removal: The Superior Option
Professional removal is the safest and most efficient method. A skilled technician uses specialized techniques to remove acrylics quickly and safely, minimizing the risk of nail damage. They are also best equipped to suggest optimal post-removal care. While it may cost more, the protection of your nail health is invaluable.
Post-Removal Nail Care: Show Your Nails Some Love
After removal, your nails need TLC. They may be thin and sensitive. Prioritize these steps:
- Hydration: Use cuticle oil daily to keep nails and surrounding skin moisturized.
- Strengthening: Apply a nail strengthener to promote healthy regrowth.
- Recovery Time: Avoid another acrylic application for at least 2-3 weeks; this allows your nails to recover fully. Did you know that giving your nails this break can significantly improve their long-term health?
DIY vs. Professional Removal: A Comparison
The choice depends on balancing convenience, cost, and most importantly, nail health. Professional removal is the safest and most efficient option, minimizing risk of damage and promoting strong, healthy nails long-term.
| Feature | DIY Removal | Professional Removal |
|---|---|---|
| Cost | Low upfront, but potential for high cost of nail repair | Moderate to High |
| Time | Time-consuming and potentially inefficient | Shorter, more efficient |
| Safety | High risk of nail damage | Significantly safer |
| Skill Required | High skill level required | No special skills needed |
| Convenience | Can be inconvenient and frustrating | Highly convenient |
Remember, prioritizing your nail health allows you to enjoy beautiful manicures for years to come. Treat your nails well, and they'll reward you with beauty and strength.